Plant lovers treasure spider plants because they're easy to care for and pleasant to look at. Due to their arching green-and-white leaves and adaptability, they are an all-purpose building block for every plant lover. What's good about spider plants is their easiness to proliferate. This guide will show you how to propagate spider plants using simple, effective methods.

Why Propagate Spider Plants?

Growing spider plants by propagation is an excellent and cheap indoor garden activity. These plants have little side-shoot(s), so-called spiderettes, which can grow to become adult plants. Reproduction of spider plants is an ideal method for expanding your collection and bringing nature to your home.

Best Time to Propagate Spider Plants

The best time to propagate spider plants is most successful in spring and summer. During this time of active growth in the plant, spiderettes can settle down and attach properly more easily. As soon as its offshoots increase, they have many opportunities to spread throughout the growing season.

Methods for Propagating Spider Plants

Spider plants can be propagated in three ways:

1. Rooting Spiderettes in Water

2. Planting Spiderettes Directly in Soil

3. Dividing the Parent Plants

Let’s break down each method step by step

1. Propagating Spider Plants in Water

Rooting spiderettes in water is one of the most simple and commonly used approaches. Here’s how to do it:

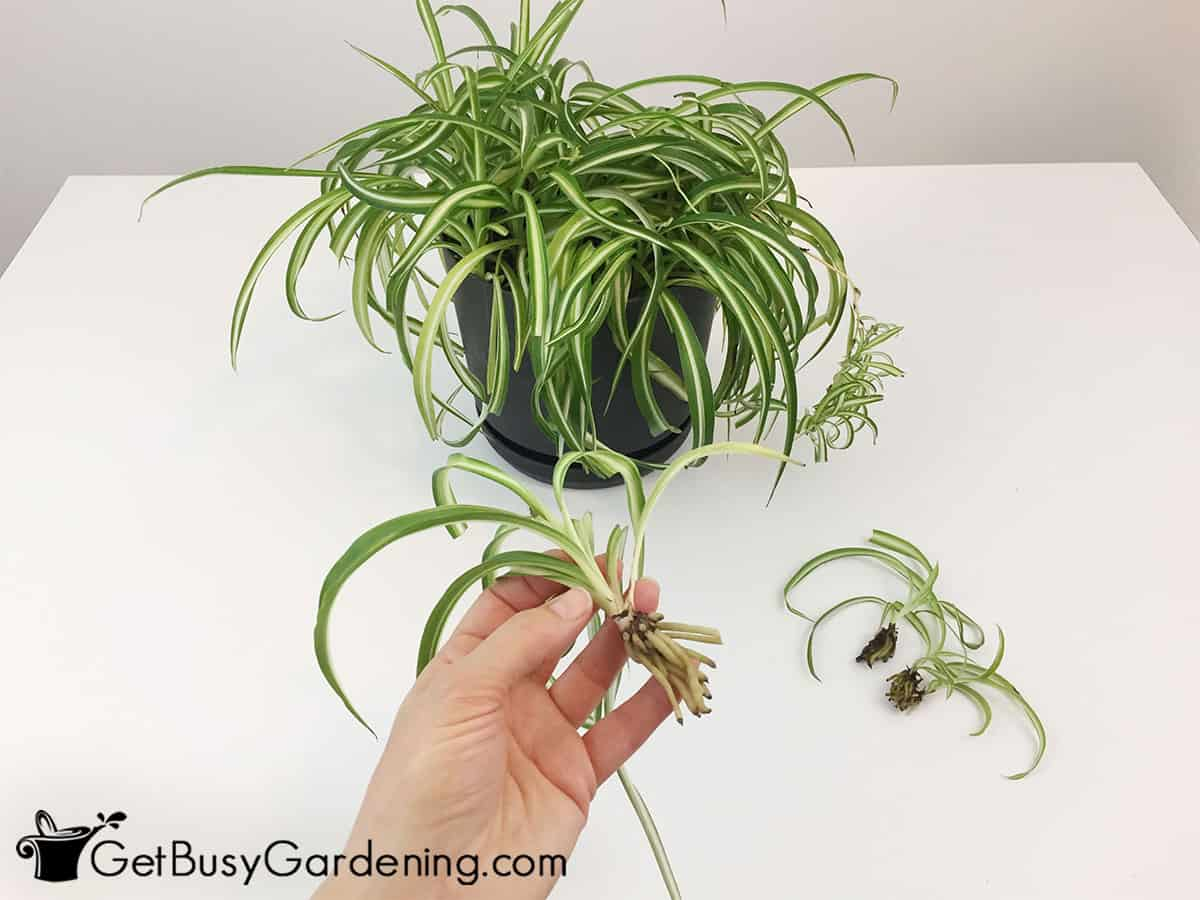
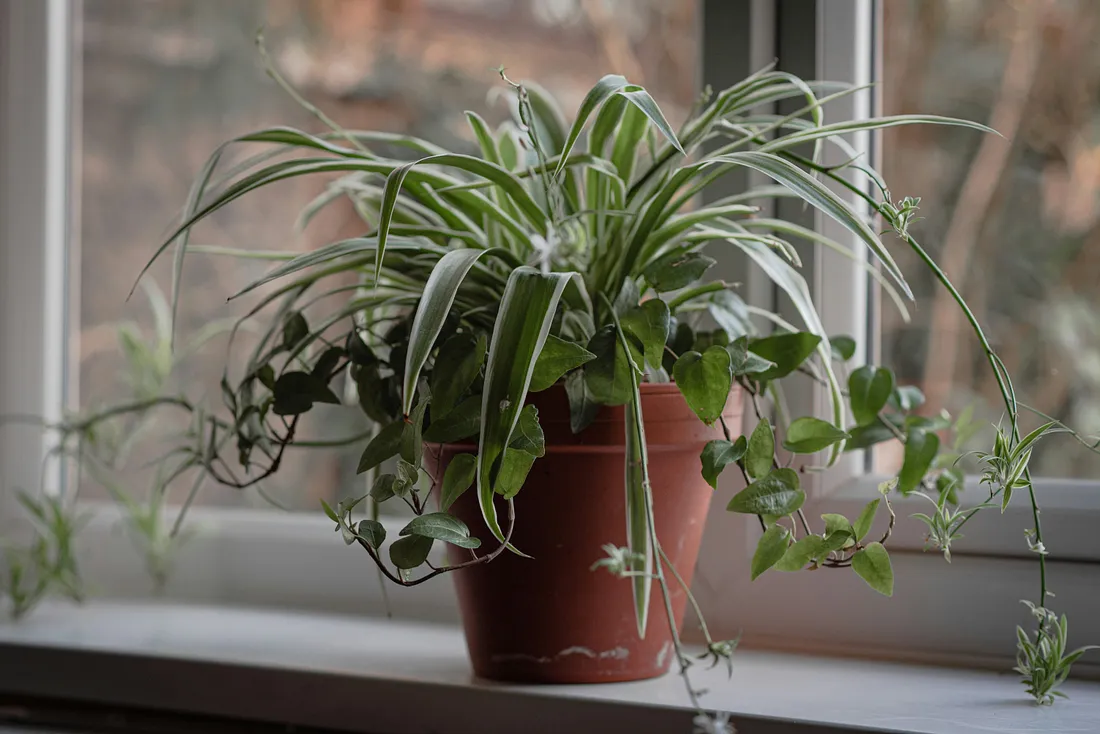
  • Step 1: Identify a healthy spiderette with small root nodes at its base.
  • Step 2: [Optional] The spiderette can be removed from the parent plant with sharp, clean scissors.
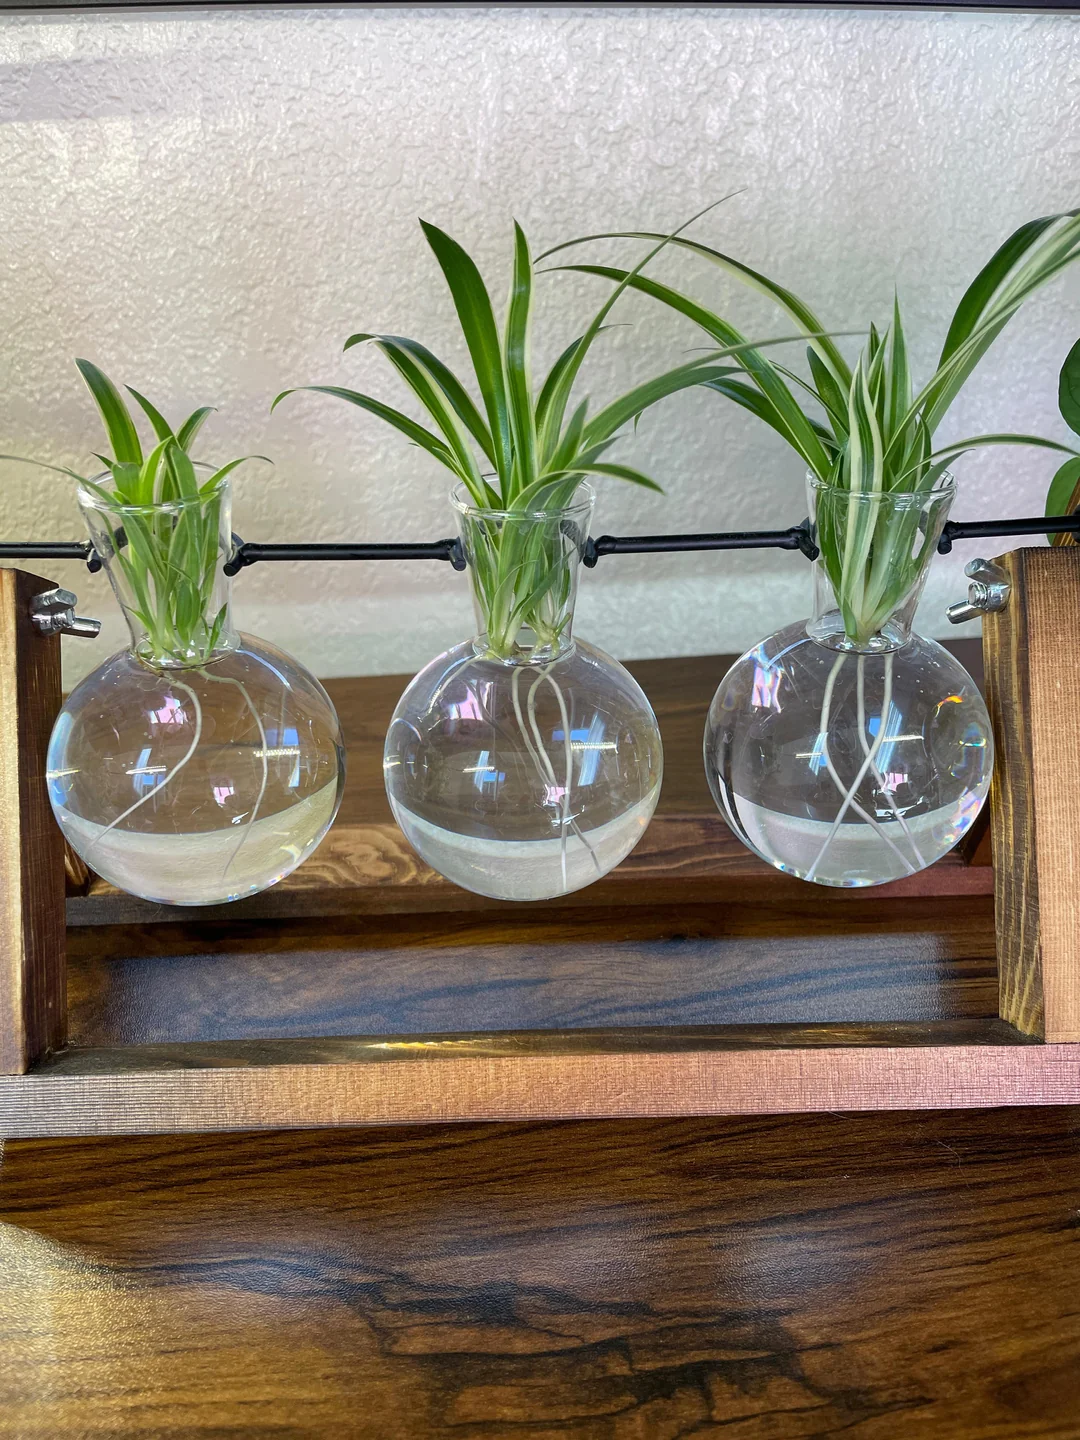
  • Step 3: Get a clear jar or glass and fill it with distilled water. Fluoride in drinking water is known to be harmful to spider plants.
  • Step 4: Soak the stalk of the spiderette in water with the nodes. Do not allow leaves to sit in the water, which may lead to decay.
  • Step 5: Place the jar in a location with sunlight and diffused light. Change the water every couple of days to stay fresh.

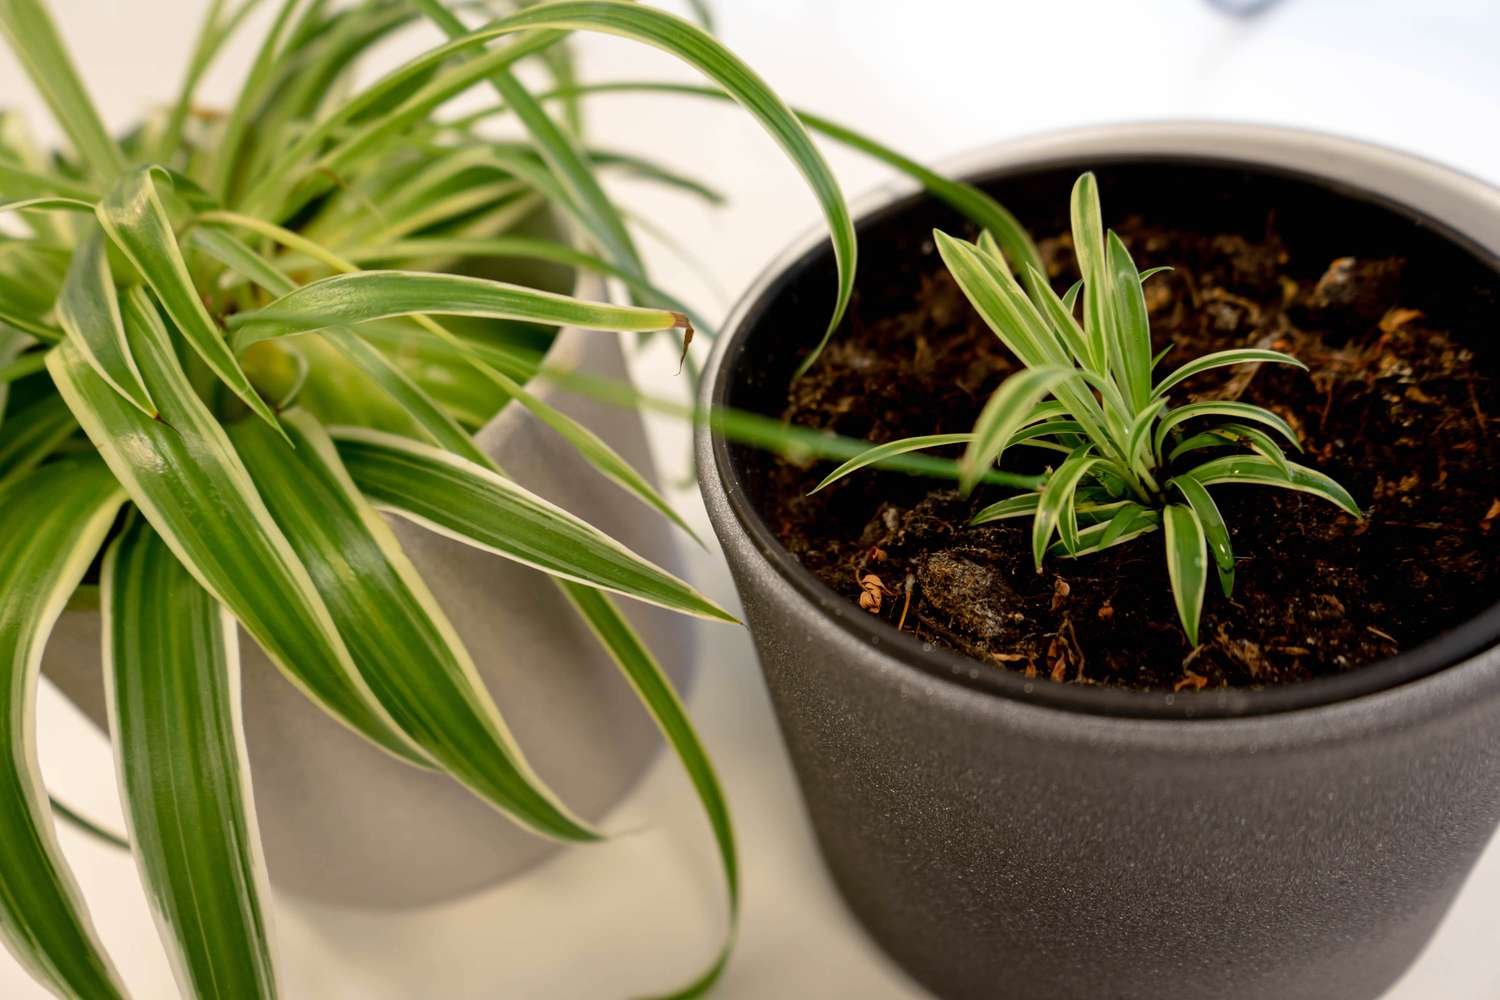
Within 7-10 days, you should notice the emergence of small roots. If roots are two or longer, the current spiderette can be excised and potted in the soil.

2. Planting Spiderettes Directly in Soil

Growing spiderettes directly into the ground is also a good choice, resulting in strong root growth. Follow these steps:

  • Step 1: Prepare a small pot with drainage holes. Fill it with a well-draining potting mix.
  • Step 2: Detach a healthy spiderette from the parent plant.
  • Step 3: For each subject, make a small hole in the soil bed and carefully introduce the base of the spiderette into it. Cover the base lightly with soil.
  • Step 4: Water the soil in such a way that it gets wet but not wet. Place the plant in indirect sunlight.

Over the next couple of weeks, roots will develop, and the spiderette will mature into a new plant.

3. Dividing the Parent Plant

If your spider plant can't fit due to the many growths that come from it, new stems can be grown by division. Here’s how:

  • Step 1: Gently remove the parent plant from its pot. Be careful not to damage the roots.
  • Step 2: Separate the root ball into smaller pieces with fingers or the clean blade. Each part should include strong roots and healthy leaves.
  • Step 3: Grow up single pots of prepared potting mix and plant each segment.
  • Step 4: Watering freshly potted plants and recommend that they be put in a sunny spot, but not in direct light.

The parent plant is separated in the process, not only producing several new plants but also alleviating the overplant situation in the mother plant.

Tools and Supplies You’ll Need

1. Clean scissors or pruning shears

2. Small pots with drainage holes

3. Well-draining potting mix

4. Distilled water

5. A clear jar or glass (for water propagation)

Tips for Successful Propagation

1. Choose Healthy Spiderettes: Identify outgrowths with clearly visible nodes or small roots at the apex. These will grow more efficiently.

2. Avoid Overwatering: If you propagate in water or soil, the medium must be kept moist but not waterlogged. So look for signs of overwatering

3. Indirect Light: For new plants, bright indirect light is ideal. Do not place them under direct sunlight, which may damage the leaves.

4. Use Fresh Soil: A potting mix of high grade with drainage is suggested for soil propagation.

5. Sanitize Tools: Clean your scissors or shears with rubbing alcohol to remove pest and/or disease presence.

Caring for Baby Spider Plants

Once they are set up, your baby spider plants can easily be cared for. Here’s how to care for them:

  • Light: Place them in a spot with bright, indirect sunlight. Avoid direct exposure to harsh rays.
  • Watering: Keep the plant watered, but let the topsoil layer dry out.
  • Humidity: Spider plants appreciate some humidity. If a room is too dry, spritz your houseplants from time to time.
  • Fertilizing: In spring and summer, a diluted fertilizer in liquid form should be applied to the plants for one fertilizing treatment every month.
  • Pest Control: Check for the presence of common pests like spider mites or aphids. If you detect any, treat the plant promptly.

Few Common Problems

  • Yellow Leaves: Too much water or drought could be responsible for yellow leaves. Dryness can be the other cause. 
  • Brown Leaf Tips: Brown tips could result from the excess chlorine or fluoride content of the water.
  • Slow Growth: If your spiderettes are not growing, keep an eye on the fact that they are supplied with sufficient light and nutrients.

FAQs About Spider Plant Propagation

How long does it take for spiderettes to root?

In water, spiderettes usually develop roots within 7-10 days. In the soil, it would take a little bit longer. However, the root system will be much stronger.

Can I propagate spider plants in winter?

While it may occur, propagation is most effective in spring and summer when the plant is actively expanding.

Must I prune my spider plant before propagation?

Pruning is not mandatory, but a nice opportunity to tidy up as well and make better choices for growth over making them too leggy.

How to Buy Plants From Eureka Farms?

Eureka Farms is a licensed nursery that has a vast collection of landscaping trees, fruit trees, palm trees, and the most extensive collection of houseplants. Whether you would like to improve the outdoor view of your curb or turn your porch into a haven by adding topiary trees and hedges, we have everything from that and much more. Our plants are guaranteed to be delivered in fresh conditions, straight to each doorstep nationwide. Our low-maintenance indoor plants improve air quality, lift your spirits, and bring a touch of nature to your home office. Happy planting!