"A Step-by-Step Guide to Repotting Plants for Vibrant and Thriving Greenery!"

Like all living things, plants need adequate care and attention to flourish. Repotting is a crucial part of taking care of plants. It can be a revitalizing experience for your plant, whether it has outgrown its current container, is exhibiting symptoms of distress, or just needs a fresh start.

Step 1: Choose the Right Time

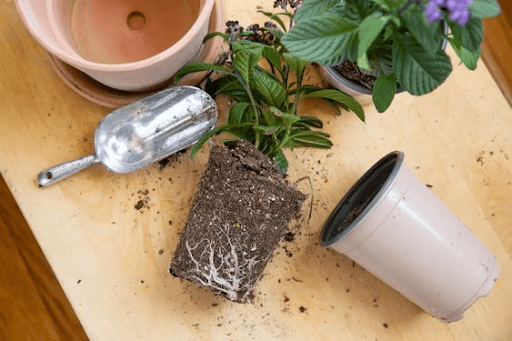
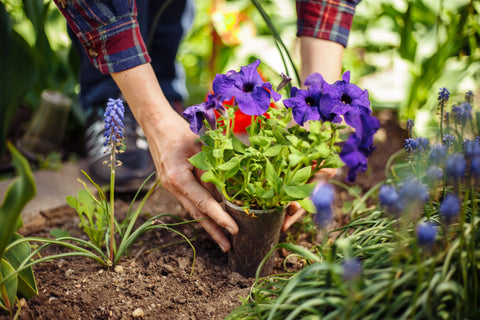
Time is a crucial factor while repotting a plant. The ideal time would be when the plant isn't actively growing. Early spring is a perfect time to repot a plant. However, if you notice discomfort, such as wilting or growth constrained by the roots, you can repot as soon as possible. Occasionally, the plant's roots can push it out of the container, indicating that it needs more space. Other clues include plants that dry out earlier than usual between waterings or whose growth has slowed. Lastly, the size of the plant may indicate when to repot.

Step 2: Gather Your Supplies

Before you start repotting, gather all the necessary supplies:

- New pot ( Bigger than the current one )

- Fresh potting mix

- Trowel or gardening gloves

- Watering can

- Pruning shears or scissors (if necessary)

Step 3: Select the Right Pot

Take a pot with a diameter that is one to two inches larger than the current one. A new container must have drainage holes to avoid overwatering and root rot. Another important consideration is the pot's material; porous materials, like terracotta, provide airflow to the roots. Pots must have drainage holes to prevent roots from suffocating. Lastly, choose a material that can resist the weather, such as stone or fiberglass, if you intend to leave a container outside throughout the winter. When they freeze and thaw, terracotta pots expand and shrink, which increases the likelihood of cracking.

Step 4: Prepare the New Pot

Add a layer of fresh,well-draining potting mix at the bottom of the new pot. It provides a healthy foundation for your plant’s roots and aids in water drainage. Make sure there is enough room in the bottom of the new pot for the plant's root ball by adding fresh potting mix. Use a premium, draining mix appropriate for the particular plant species.

Step 5: Remove the Plant from its Current Pot

It's time to get your hands dirty and start gardening! First, put on your gardening gloves and remove your plant from its container. Then, choose a container that suits your plant's needs and prepare your potting soil. If your plant is root-bound, it can still fit perfectly in its container. To remove the plant from a terracotta or ceramic pot, run a knife or trowel down the inside wall of the container. Gently shake the plant out of the pot by tipping it to the side, being careful not to pull on the stems and risk breaking them.

Step 6: Trimming and Loosening the roots

Check the plant's roots for any sign of decay or illness. Use clean pruning shears or scissors to remove any damaged or dead roots. In the new pot, this phase encourages healthy growth. Using your hands, carefully loosen the roots of the plant. Make sure to leave the thicker roots at the base of the foliage when pruning off any extra-long, thread-like roots. Try to unbind the roots and trim them if your plant is root-bound, indicating that the roots are growing in tight circles around the base.

Step 7: Transfer the Plant to the New Pot

Make sure the top of the root ball is just below the rim by centering it in the middle of the new container. To get the proper height, adjust the potting mix as necessary. Till you reach the correct height, add or remove dirt from beneath the root ball. Remember to water your plants immediately. After being repotted, plants experience some stress. Make sure they have access to plenty of water.

Step 8: Fill with Potting Mix

When potting a plant, gently pour the fresh potting mix into the spaces surrounding it, and press it down to remove any air pockets. You can purchase potting soil that has already been combined with perlite or make your own by combining equal parts of sand, loamy garden soil, and perlite. To make watering more effortless, leave about an inch of gap between the top of the potting mix and the edge of the pot.

Step 9: Water Thoroughly

Give your newly repotted plant a good soak. It helps settle the soil and provides the plant with the moisture it needs to recover from the stress of repotting.

Step 10: Allow for Adjustment

Prepare your tools, wear your work gloves, and give your plants the new home they deserve!