Step 3: Attach the Cord to the Basket
Mark four equal points between the basket rim. Tie each cord's end through soft locations in the basket's weave.
Starting with the first cord piece, feed it through one marked basket spot outward from inside to outside. Folding the cord twice around the basket rim will be followed by a double knot to secure the length. Repeat this step at each of the four points.
Step 4: Tie the Hanging Loop
Once all four corners are secured, gather the ends of the cords at the top. Adjust them so the basket hangs evenly, then tie a secure knot to form a loop. This will be the part that hangs from your ceiling hook or bracket.
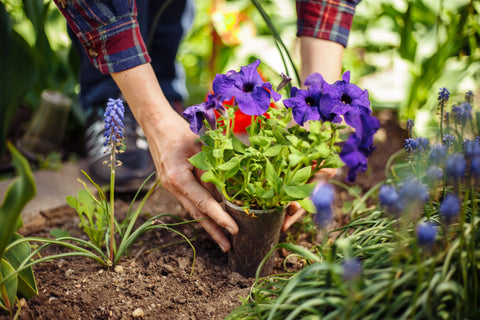
Step 5: Add Your Plant
Place your chosen plant inside the basket. If the basket has significant gaps, line it with a coconut coir liner or a small dish to hold the plant securely. Water your plant lightly to avoid excess dripping.
Step 6: Hang and Enjoy
Install a sturdy ceiling hook or wall bracket in your desired location. Hang the planter and step back to admire your work. You now have a beautiful, upcycled hanging planter that adds life to your home!
Best Plants for Hanging Baskets
If you’re unsure which plant to use, here are some great options:
- Heart-shaped leaves make Pothos an easy-to-maintain climbing vine that trails down independently.
- Spider Plant functions well as an air cleaner and creates smaller regenerative offshoots.
- Boston Fern boasts lush green foliage while seeking high moisture content.
- String of Pearls, an unusual succulent with a string of bead-like leaves.
- English Ivy spreads quickly as a climbing vine, which adds stylish charm to any environment.
When choosing a plant, you should consider your lighting environment and preferred plant care level.